Smoke and Roasting
Share
The smoke when roasting coffee sometimes surprises new coffee roasters. However, the smoke can be a very useful tool when roasting! As one gains more experience with the process, the smell and color can help them differentiate where the beans are in the roasting journey.
Coffee roasting is essentially the art of turning a seed into one of the most beloved beverages throughout the world.
Many roasters are familiar with the paper-like outer skin they find after roasting, called the chaff. The chaff is one of the byproducts of coffee roasting and can vary dramatically in volume by the bean and the method of preparation just off the plant. It may be hard to believe, but green coffee beans are still living seeds. While rare, sometimes even dried and processed green coffee can still sprout a thriving tree! Green coffee beans have a high moisture content. That's why you sometimes get a large weight change when comparing a batch before and after a roast. This is why “1lb” of coffee in stores is often sold in smaller weights than 16 oz.
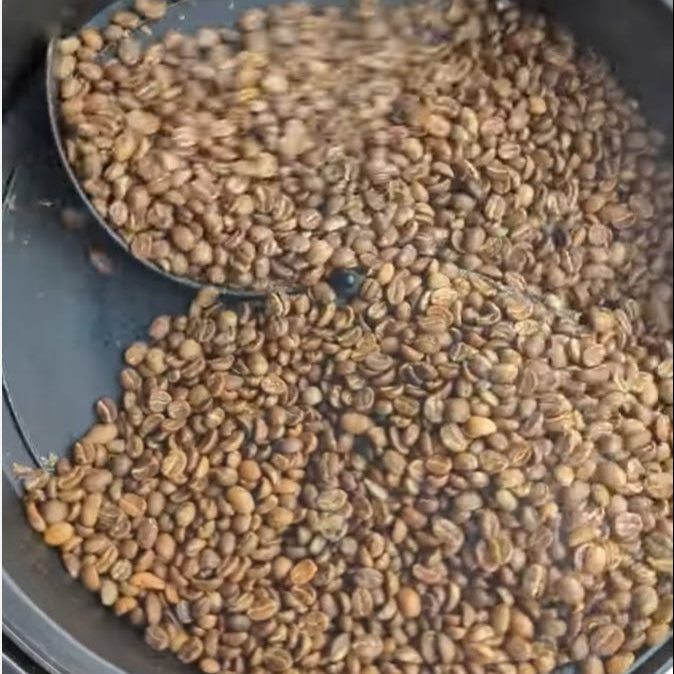
Roasting coffee beans introduces high heat, which kicks off the chemical reactions that give us the magical taste we so love. Once high heat is applied, the beans first begin to dry as moisture is pulled out of the coffee beans. Then they'll start to turn from a darker green or blue hue into lighter shades like tan or yellow.
The next phase is when the coffee beans start to go from yellow into a darker shade, eventually turning brown. The process happening just out of sight is the same one referenced for all your favorite cooking techniques. This is the Maillard reaction. This is when the caramelization starts and the beans develop their unique flavor and aroma, including the development of sweetness and muted acidity. First Crack is when the pressure inside the coffee bean causes them to crack open and many describe the sound as somewhere between the snap, crackle, and pop of Rice Krispies cereal and that of popping popcorn.
Once all the water inside of the coffee beans has evaporated, they will then reach what is called Second Crack. The coffee beans should be a more familiar brown now. Most of the sugars have been broken down and this is normally the perfect time to stop your roast.
Light to medium roasts are ended between the first and second crack. Medium to dark roasts usually end right before or right after the second crack begins. Many wait to hear those first few pops of second crack and then begin the cooling process. Dark to very dark roasts end after the second crack has finished. The beans will also begin to get oily. It is common for home roasters to stop roasting and begin the cooling process well before any oil begins to show on the surface of the bean. It is common to see oil a few days after roasting, but ideally, most home roasters prefer to stop roasting before oil appears.
Because of the chemical processes happening and the high heat, there is always a risk of fire when roasting. The chaff burns, water is evaporating, and oil is being produced. You should never leave your roasting coffee alone.
Depending on your roaster and setup, there are ways to safely mitigate the smoke. One of the most common is roasting outside or using a vent fan similar to an oven vent or box fan. Whichever method you prefer, just remember the beans will still be hot when you finish roasting, and you will want to take care not to place these beans right into low-temperature plastic or papers that might get catch fire. Let your coffee sit for a while to not only cool, but to be slowly degassed before grinding your first cup. This can be as little as several hours, to as long as several days. Adjust to your preference, as experimenting with the process is how you not only learn it better but find that perfect cup of coffee!
Happy Roasting